Seaside Market - Making a good foundation
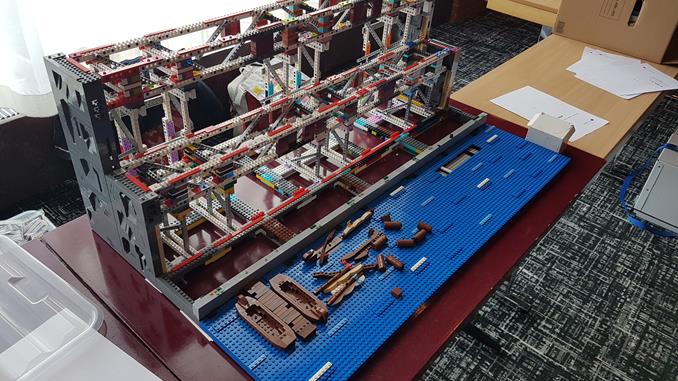
Preparing for expos when building big.
When I started to design the Seaside market build, I knew I wanted to display it at a LEGO exhibition. That meant, because of the large size of the build, I would have two specific problems to solve: how to transport it and how to deal with uneven table surfaces.
Issue 1: Transportation
Moving big builds can be challenging if not considered during the design process. How to it should be moved out of the LEGO den, into a car and beyond needs to be thought about.
The primary way to add mobility to a big build, is to break it up into several smaller modules. With this build, I made each house it own module, the foundation was split into parts no bigger than a 32x32 baseplate and all the internal support structure can broken down into many smaller parts.
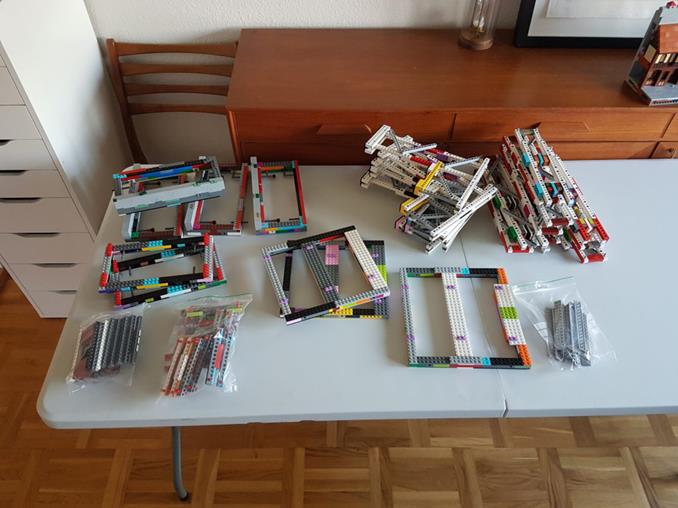
Below you can see the internal structure split into its parts. It was divide into a lot of parts, because I wanted to minimize the volume needed to transport it. I wanted to transport as little “air” as possible.
Below is all the above parts assembled. Here you can see all the “air” I didn’t want to transport.
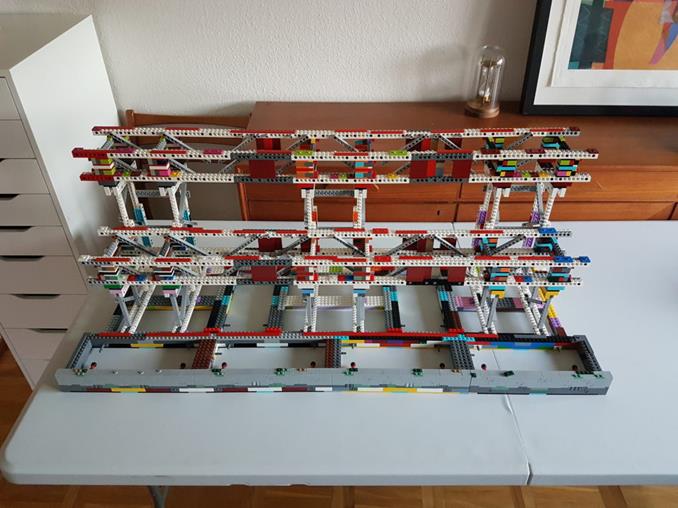
I did put some thought into color coding parts to make it quicker to assemble. But after having to assemble it a few times, it is clear that I should have put even more thought into that. A few of the parts are easily put in the wrong place or in the wrong way.
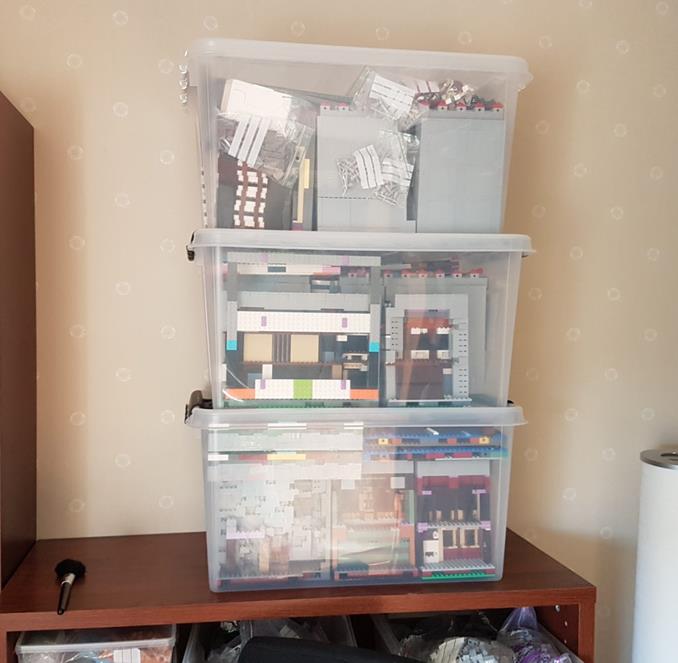
Below you can see the whole build in three sturdy and easy to carry boxes. Getting everything into the boxes is kind of a puzzle. Something I hope to avoid next time I build something big.
Issue 2: Uneven table surfaces.
I know from experience that the surfaces for LEGO builds at an expo can’t be trusted to be evenly flat. And if one has a big build, the designated placement surface might span two or more tables. Meaning that one has to be prepared to deal with uneven floors, bent table surfaces, crocked feet and differences in height between tables. If I’m unlucky I might need to deal with a “large” differences in height of placement surface. By large I mean about 1 to 1.5 cm in height difference. But anything above a few millimeters can cause problem if unprepared. Which is especially true with this build, where small differences at the bottom can grow to big difference at the top. Leading to noticeable gaps or height differences between different parts.
To deal with this potential problem, I designed the bottom to be an open grid that can be laid out on the surface and be inspected. That way, if any part isn’t level with the others and needs adjustment, I can easily reach it and adjust it. So far I have used stacks of old business cards to raise up parts of the grid.
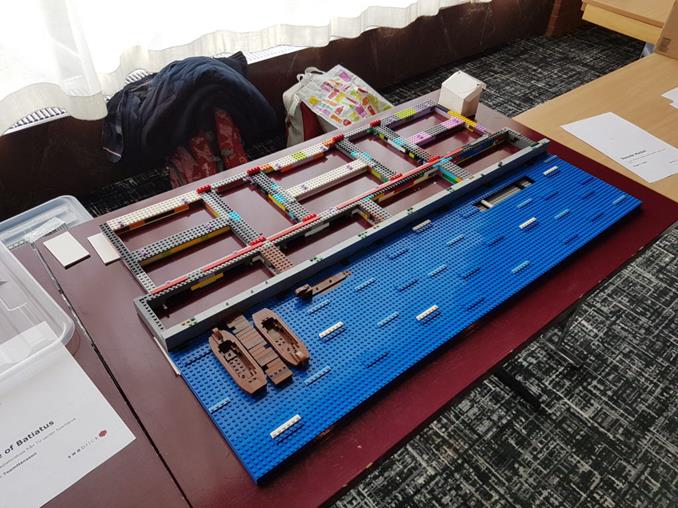
I haven’t yet had to deal with bad tables with this build. But I’m still happy that I designed the foundation this way. It is nice to start the setup with laying out a foundation. It gives me the opportunity to check that the placement of the build is good before I continue with the setup.
