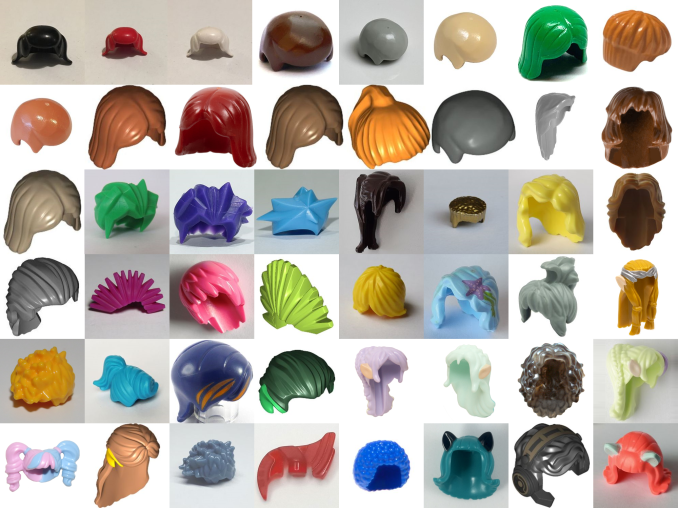
Lately I got thinking about the minifig hair pieces. Specifically, I wondered about how many colors do they come in? And would it be a nice thing to collect and display?
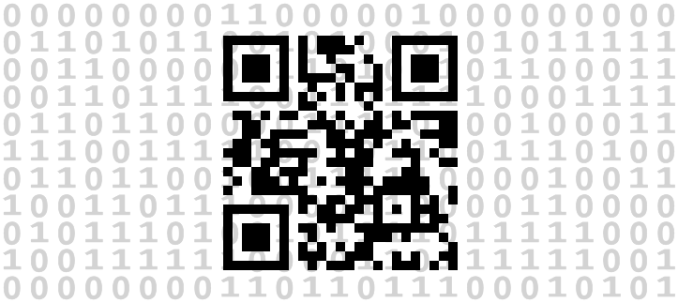
I have a new on-and-off-again project which is QR codes! I’m working on learning as much as I can about them. How do they work and how customizable they are.
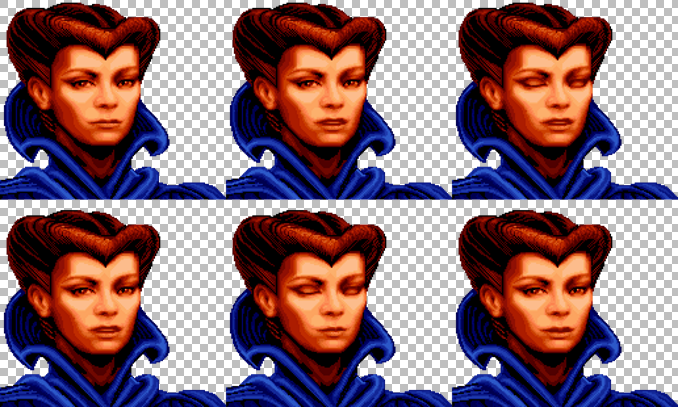
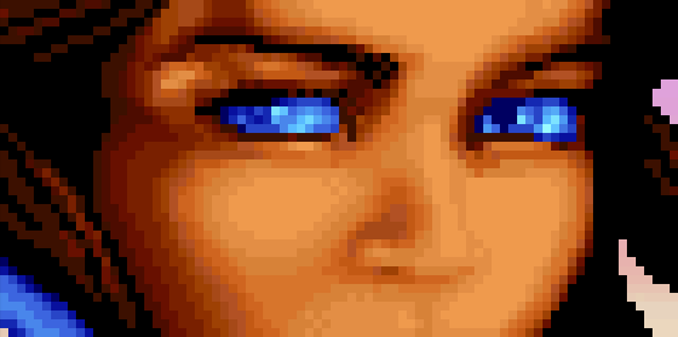
When I was trying to fully understand the image files, I had to dive into the binary code for the game. Which meant that I had to reference online documentation a lot, utilize a bunch of different tools and also build my own tool to help with the reverse engineering.
Finally, we have reached the last part of the image files, the animation instructions. This post assumes you have read the earlier ones, and if you haven’t, links to them can be found on this page.
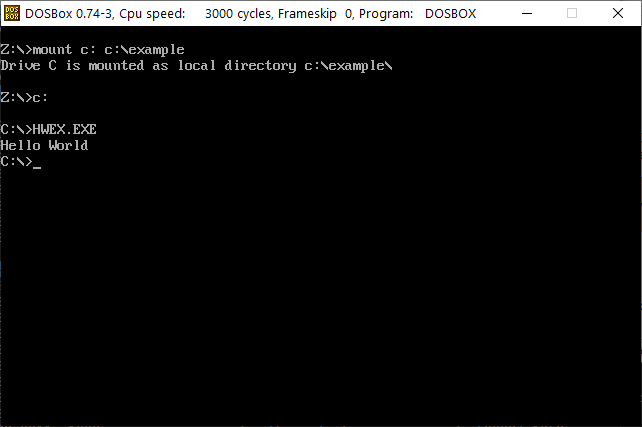
When I started with reversing Dune I felt that I needed to code my own Assembler programs and run them DOSBox. Simply to make sure that I understood the code and logic I was studying.
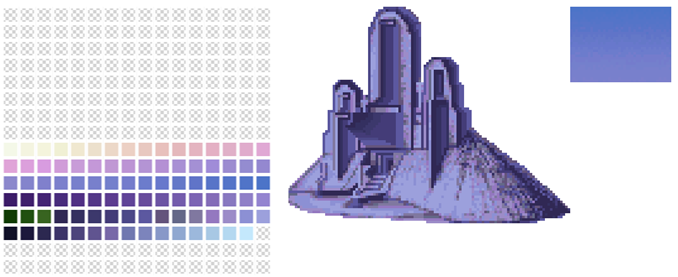
This is part two of my walkthrough of the Dune image files. (Part one can be found here). This part focuses on the color definitions, palettes, that can be found in almost all the images files.
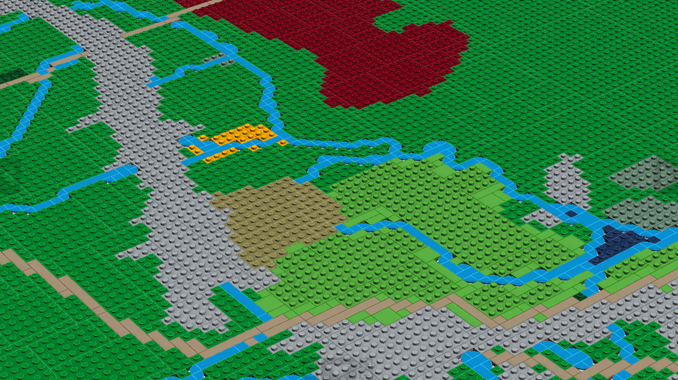
This year I have decided that my next big LEGO project will be to build a Middle Earth map. A map of the world from the Lord of the Rings and the Hobbit books/movie.
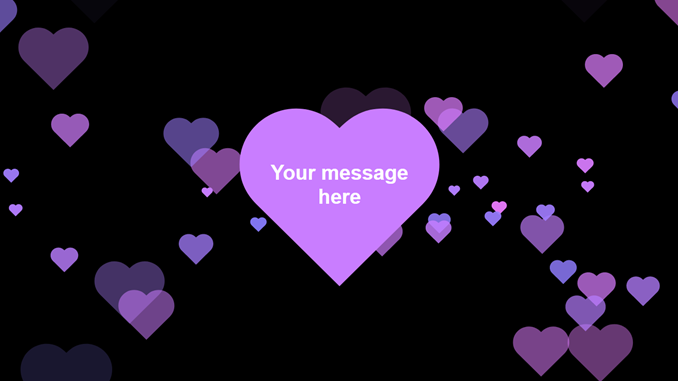
I have not been able to keep myself from JavaScript and general web development. I have taken a dive into learning more about CSS, and this lead to an explosion of hearts - A simple web page for viewing and creating messages written over a heart with more hearts flying out of it.