Getting started on a LEGO Middle Earth Map
This year I have decided that my next big LEGO project will be to build a Middle Earth map. A map of the world from the Lord of the Rings and the Hobbit books/movie. It’s something I been thinking about for many years so it’s nice to finally get started on it.
Finding source material
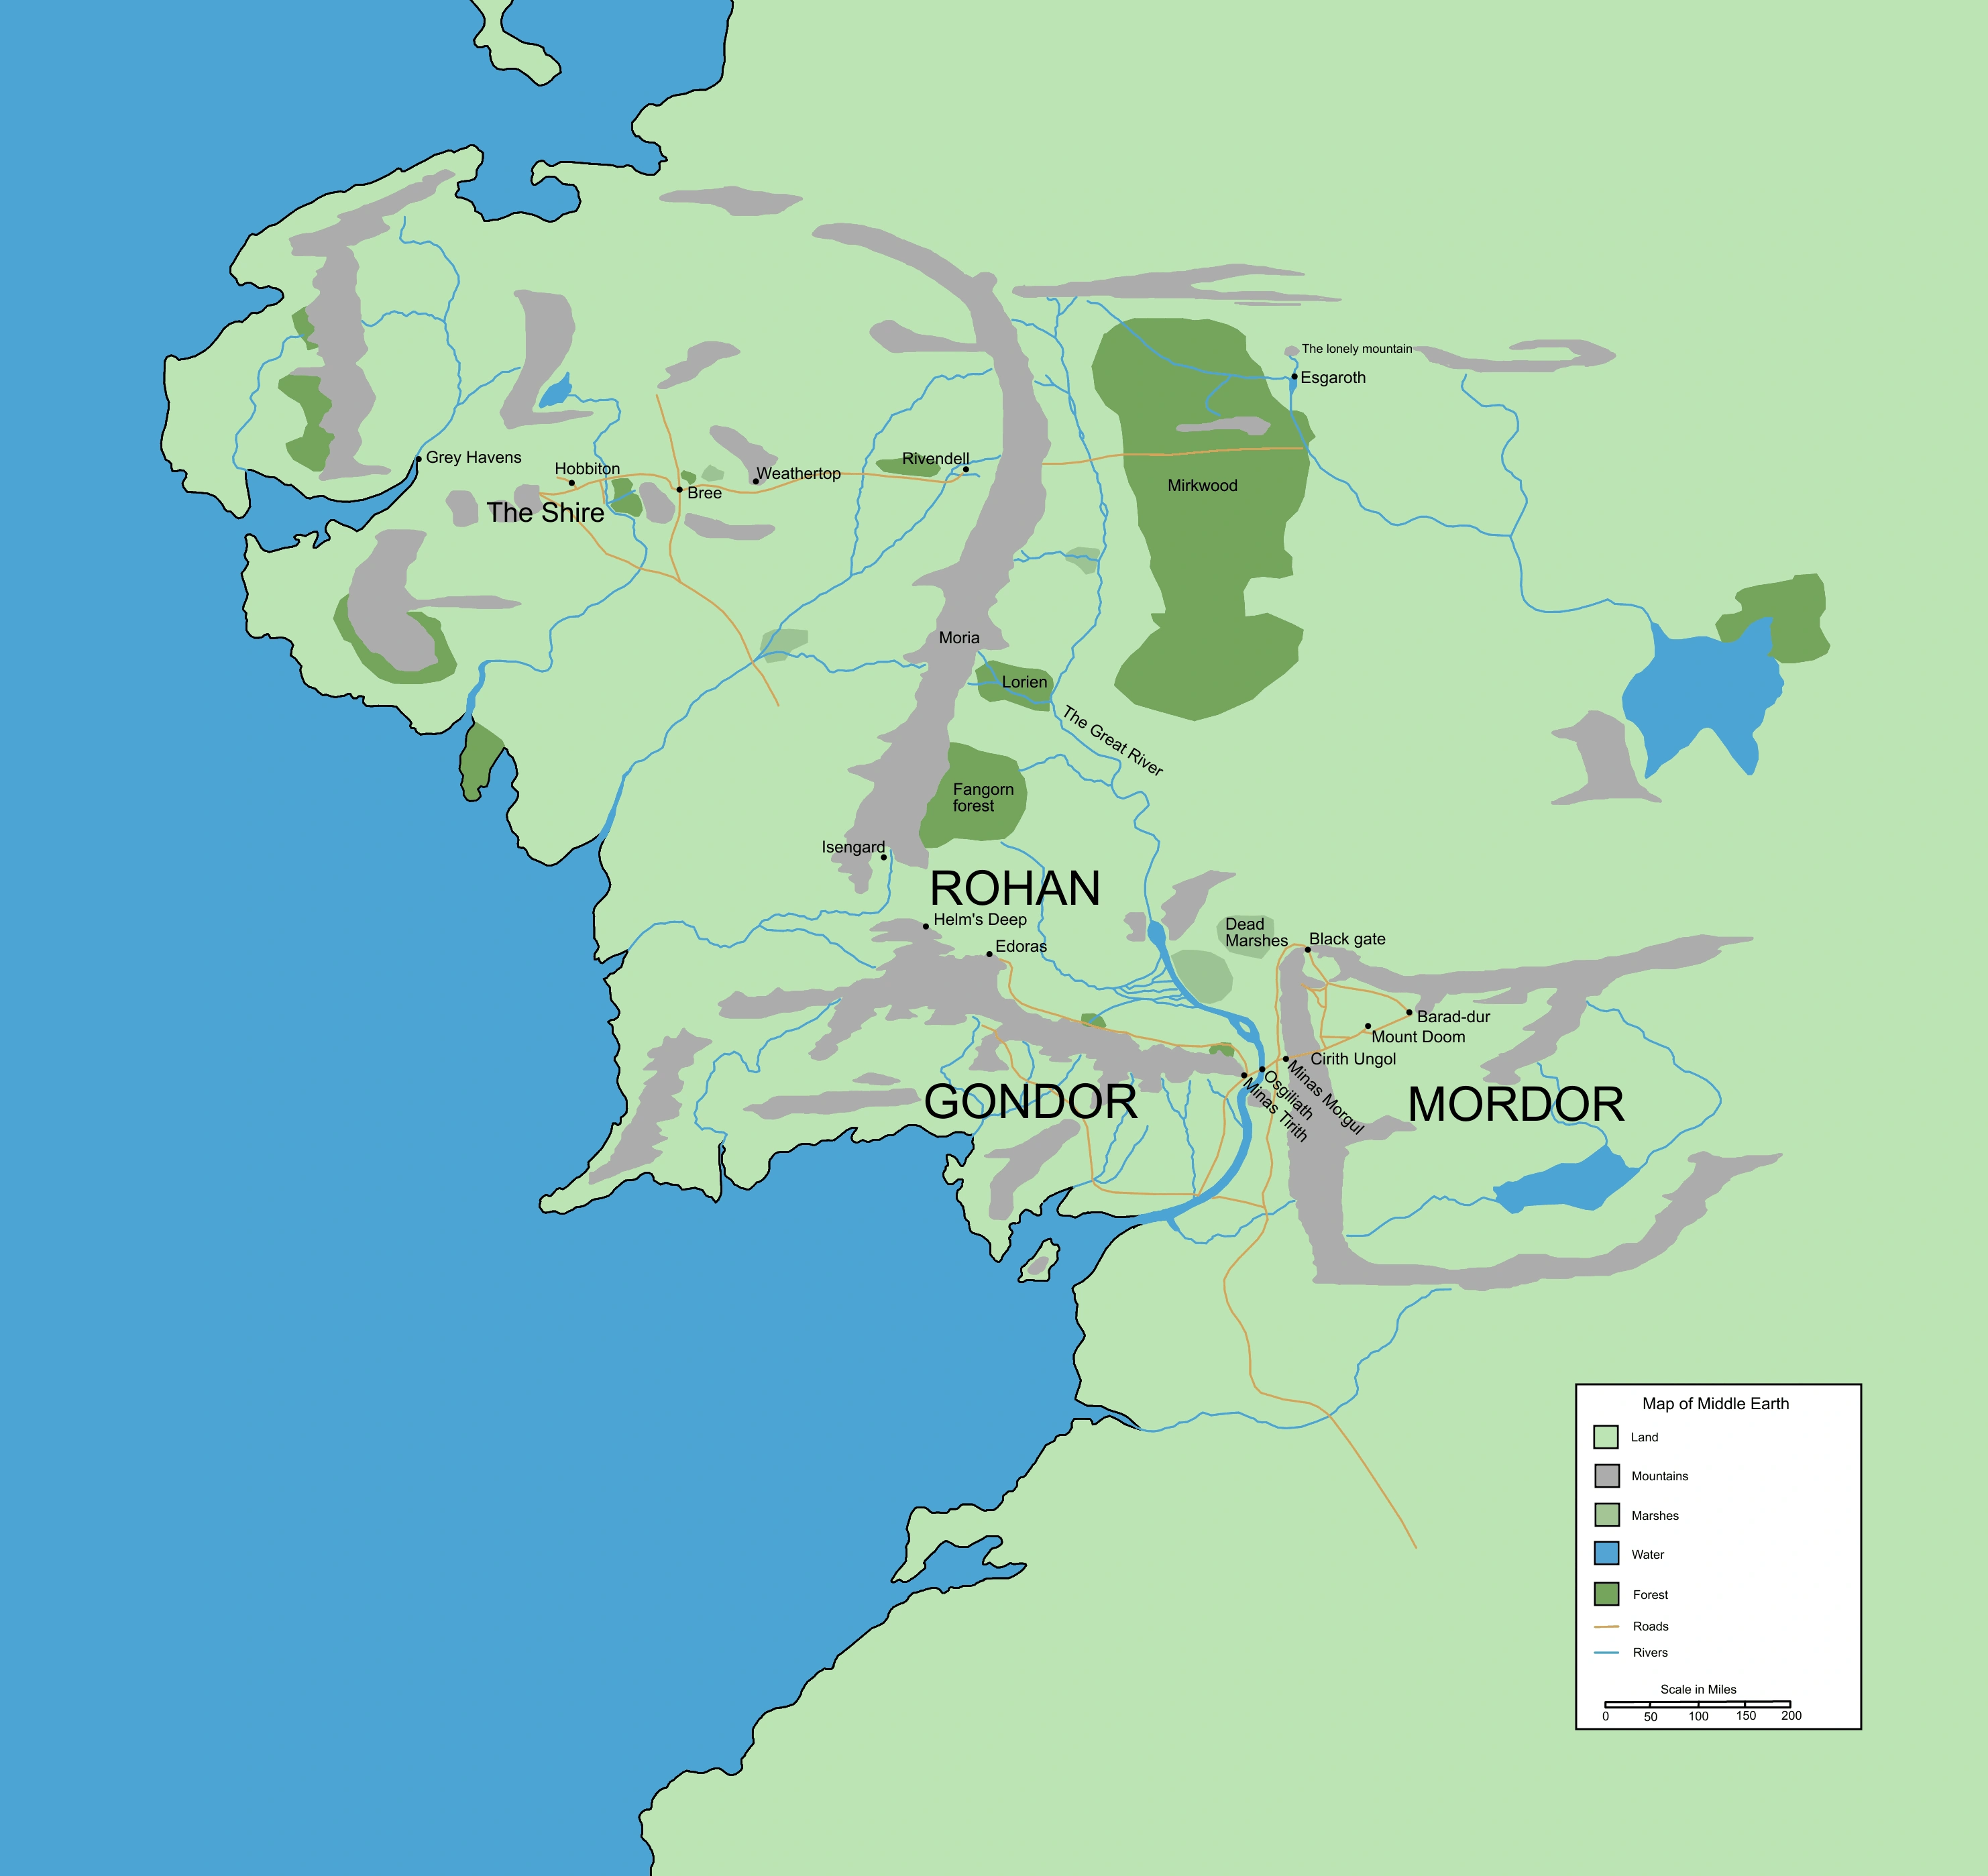
First step was to find one or several good maps to base the work on. I already own a Middle earth atlas, but I wanted something digital to work from. A simple google search gave me lots of maps to choose from. For example this Reddit comment lists a nice collection. But I ultimately decided on using this map from the LotR fandom wiki.
From Pixels to Bricks
At first I tired to create the map in LEGO Digital Designer manually. With the help of a picture editor, I placed a grid over the map and counted squares to see which plates could be used to represent that part. I have used that technique once before when creating a map for a LEGO event, but I quickly realized that it would be to much work for this project. So instead I started to work on an application that could to the job for me.
“Brick Map Maker”
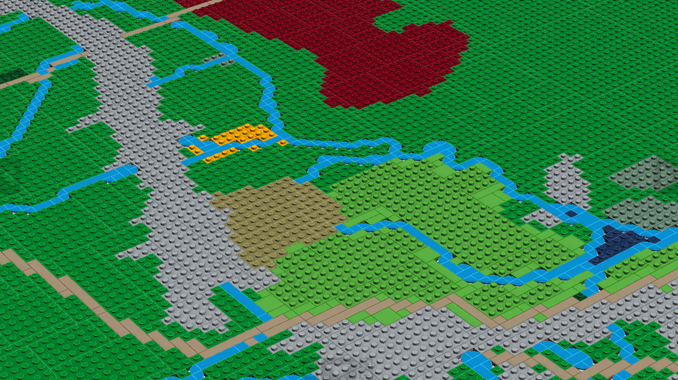
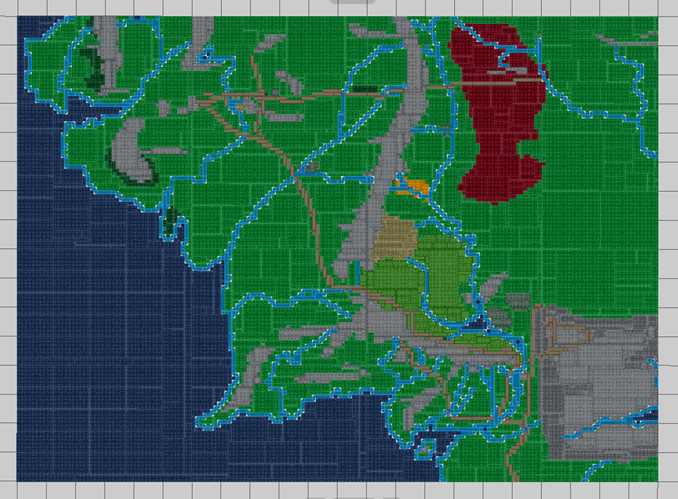
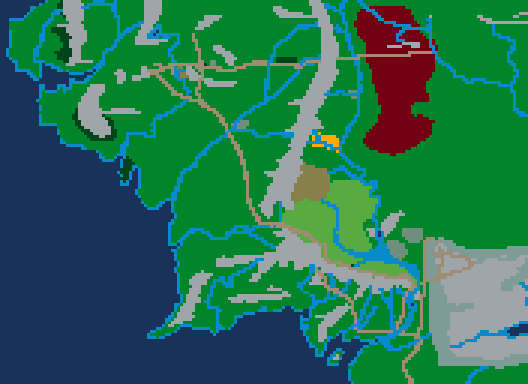
A short description of the tool I made would be that it takes a picture as input and creates a Lxf-file for LDD. Below is picture I used and the resulting output.
To produce the output, a lot of hard coded color parameters and an Excel spreadsheet with available LEGO bricks was used. The current procedure used is:
- Read and divide the input image into a bunch of squares with the size of 12 by 12 pixels. Each of these squares represent one stud on the final map.
- Match all pixels in a square against list of predefined “input colors” and count them.
- Any pixel that don’t match any predefined color is not counted. That way text, color transitions between two areas and other irregularities are ignored.
- Analyze the counted pixels to select what type of terrain it is.
- If all the pixels had the color of water, mark the square as Sea.
- If any of the pixel was water colored, mark the square as River/Coastline
- If any of the pixel was road colored, mark the square as Road.
- Lastly, the color that got the highest count decides which type of land it is.
Next comes the step of processing of all the squares, converting them to LEGO pieces.
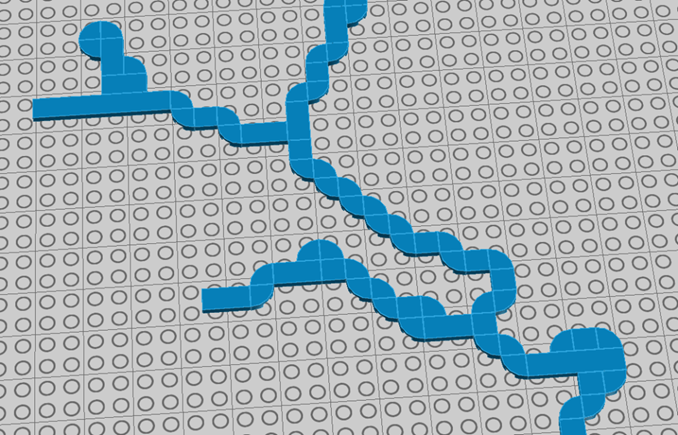
First, the application runs special logic for the rivers and coastlines. This is because I decided to use 1x1 quarter circle tiles to make the corners of the rivers a bit smoother and I had to implement logic that could place all these tiles with the right rotation.
After that, the map is divided up into sections of maximum size of 48x32 squares. This is because I will need to be able to divide up the map into section for transportation. A piece in the size of 48x32 studs will fit nicely in my transportation boxes.
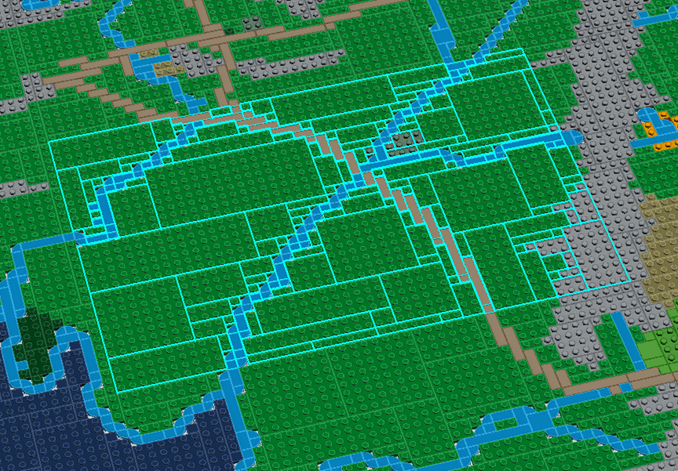
Then all non-river squares are processed, section by section. The program loops through all defined types and for each type, it selects all LEGO pieces that can represent it. Then it loops through the LEGO pieces, from biggest to smallest and looks for locations where it can fit.
The Code
The tool I developed for this project is a C# .net console application. I have uploaded the code to Github and can be viewed with the link below:
https://github.com/henrikzwomp/BrickMapMaker
And as I said, this is still a work in progress, so the most recent version might not reflect the information in this blog post 100%.
End goal?
The map this tool produces it not my actual end goal. I’m working on a more 3D map with rising mountains, forests and a couple of minibuilds to mark out the significant locations in books. Something that will look a lot better than a flat map. I will talk more about this in the next post about this project.
/Henrik